Do you find Test Driven Development (TDD) good in theory but hard to practice? Do you think it requires too much discipline and you don’t have time? Or, are you just struggling to get your workflow streamlined? Fighting to glue your tools together?
Well, you can improve a lot, by borrowing some tricks from me. I’ve practiced TDD with Ruby for many years now, and built an entire web framework only with these techniques.
They are simple, effective and easy to learn.
Last time we talked about time management. Today we’ll focus on Vim setup and how this is important to follow the “not break the flow” rule.
Env Vars
Use export EDITOR=vim in your shell startup file (e.g. .zshrc). This is a convention that’s followed by a lot of softwares like Bundler.
Vim vs MacVim
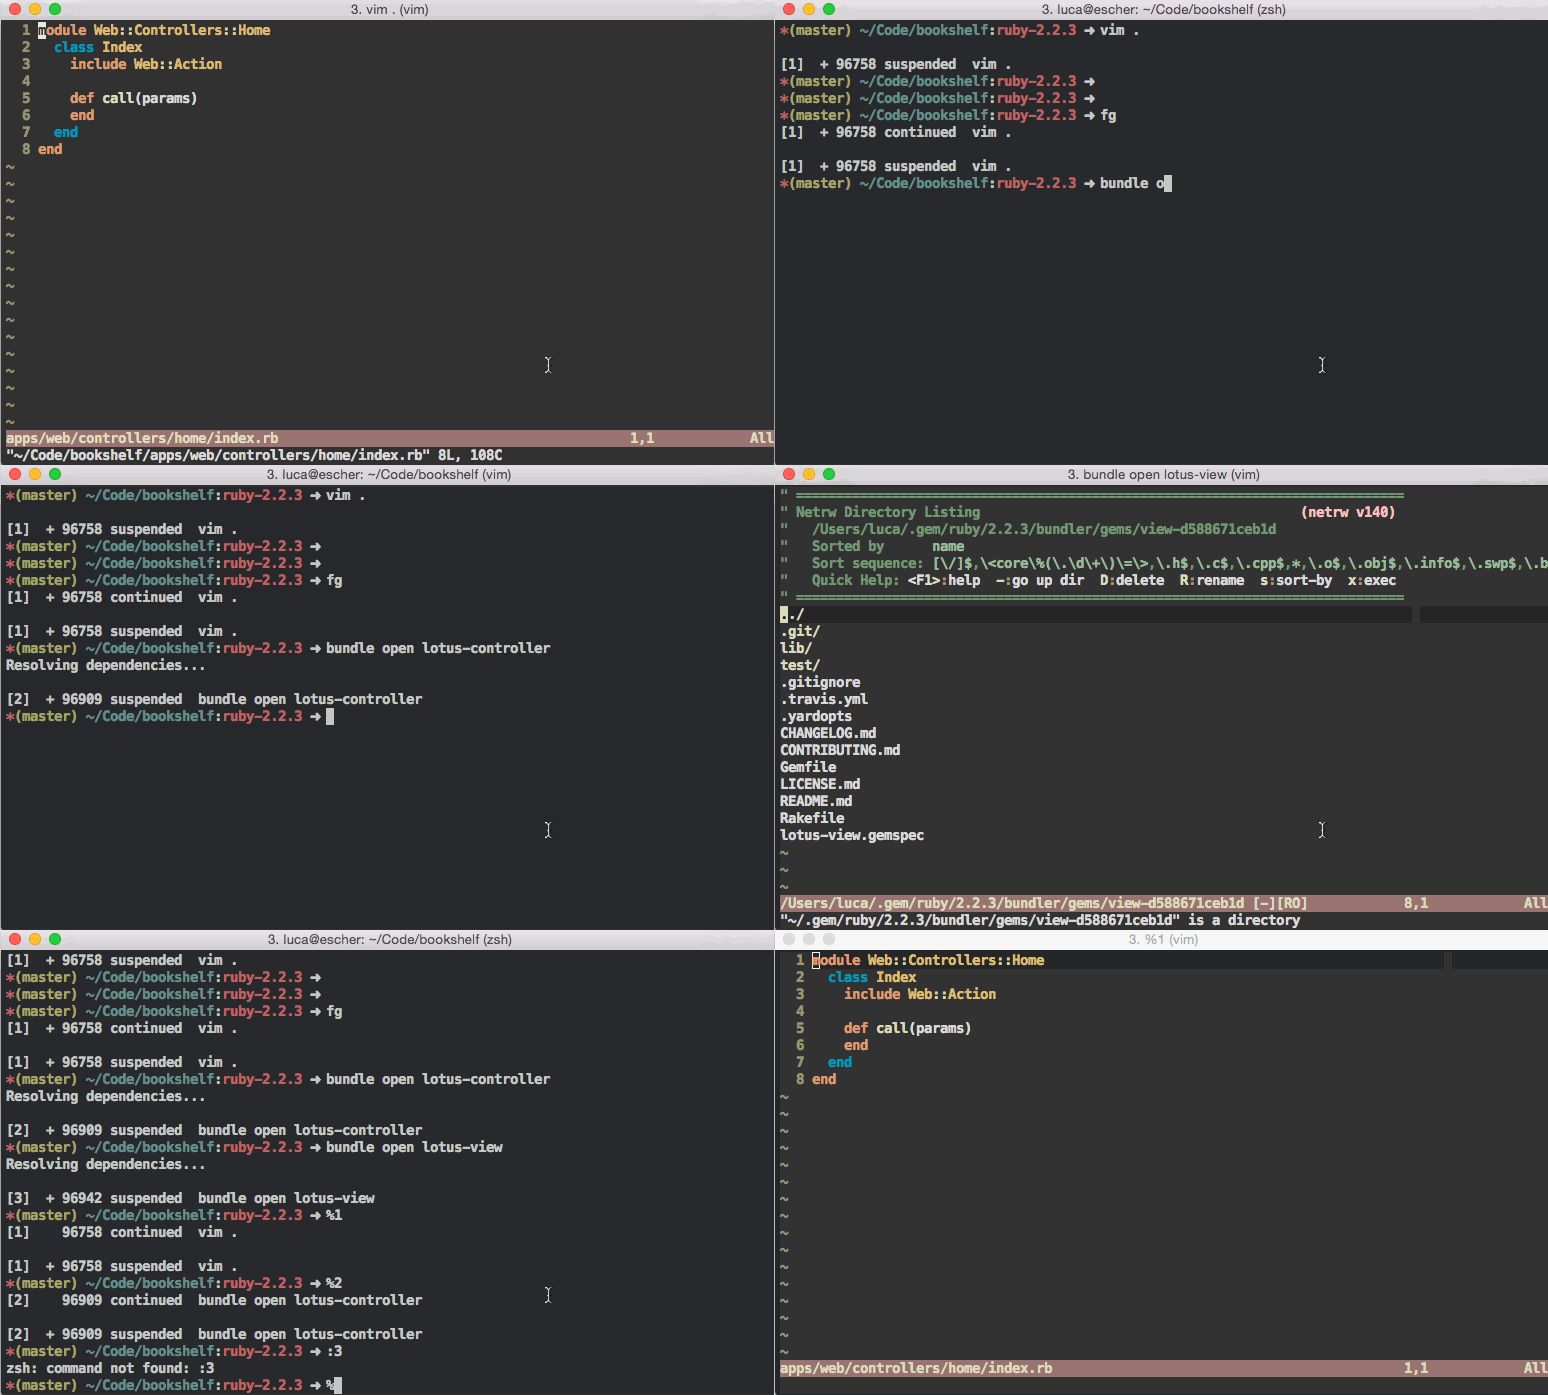
I prefer to use Vim over MacVim because the shell is always a Ctrl+z away from the editor.
That shortcut works on all the UNIX systems, it sends a SIGTSTP signal to the current process and puts it in background. You can resume it with fg.

I often use it for Git commands or to open another gem source code via bundle open foo. This will starts another Vim process in the same shell. To switch between all instances of the editor, you can use Ctrl+z to put the current on sleep and then %1 or %2 or %3, etc… That number corresponds to the opening order of your processes.
For instance, if you have started vim . first, that will be resumable with %1. Then you have opened foo gem, that will match to %2.
Build Your Own Setup
Let’s admit it, vanilla Vim, isn’t that useful. When I re-learned it years ago, I decided to use Janus as a standard setup. It’s a good starting point, but then you realise that you just use 20%/30% of what’s provided there.
My suggestion is to start from scratch and build your own setup. Then slowly add plugins when you need a feature in your day by day development.
It’s funny and you’ll learn a lot about Vim.
For inspiration, have a look at Tim Pope, Mislav Marohnić, Gary Bernhardt, Paul Irish, Drew Neil, Thoughtbot, Steve Losh and my .vimrc configuration. As future reference, remember to document each setting. By reading the examples above, if you run into something unknown like expandtab, just use Vim :help expandtab and you’ll get a detailed explanation.
Plugins
With the minimalist approach described above, start to add only the plugins that you need. I strongly suggest to use a plugin manager such as Pathogen or Vundle. As of today, plugin authors assume that one of these two systems are present in your Vim setup.
Let’s examine some useful stuff to enhance your Vim experience.
Theme
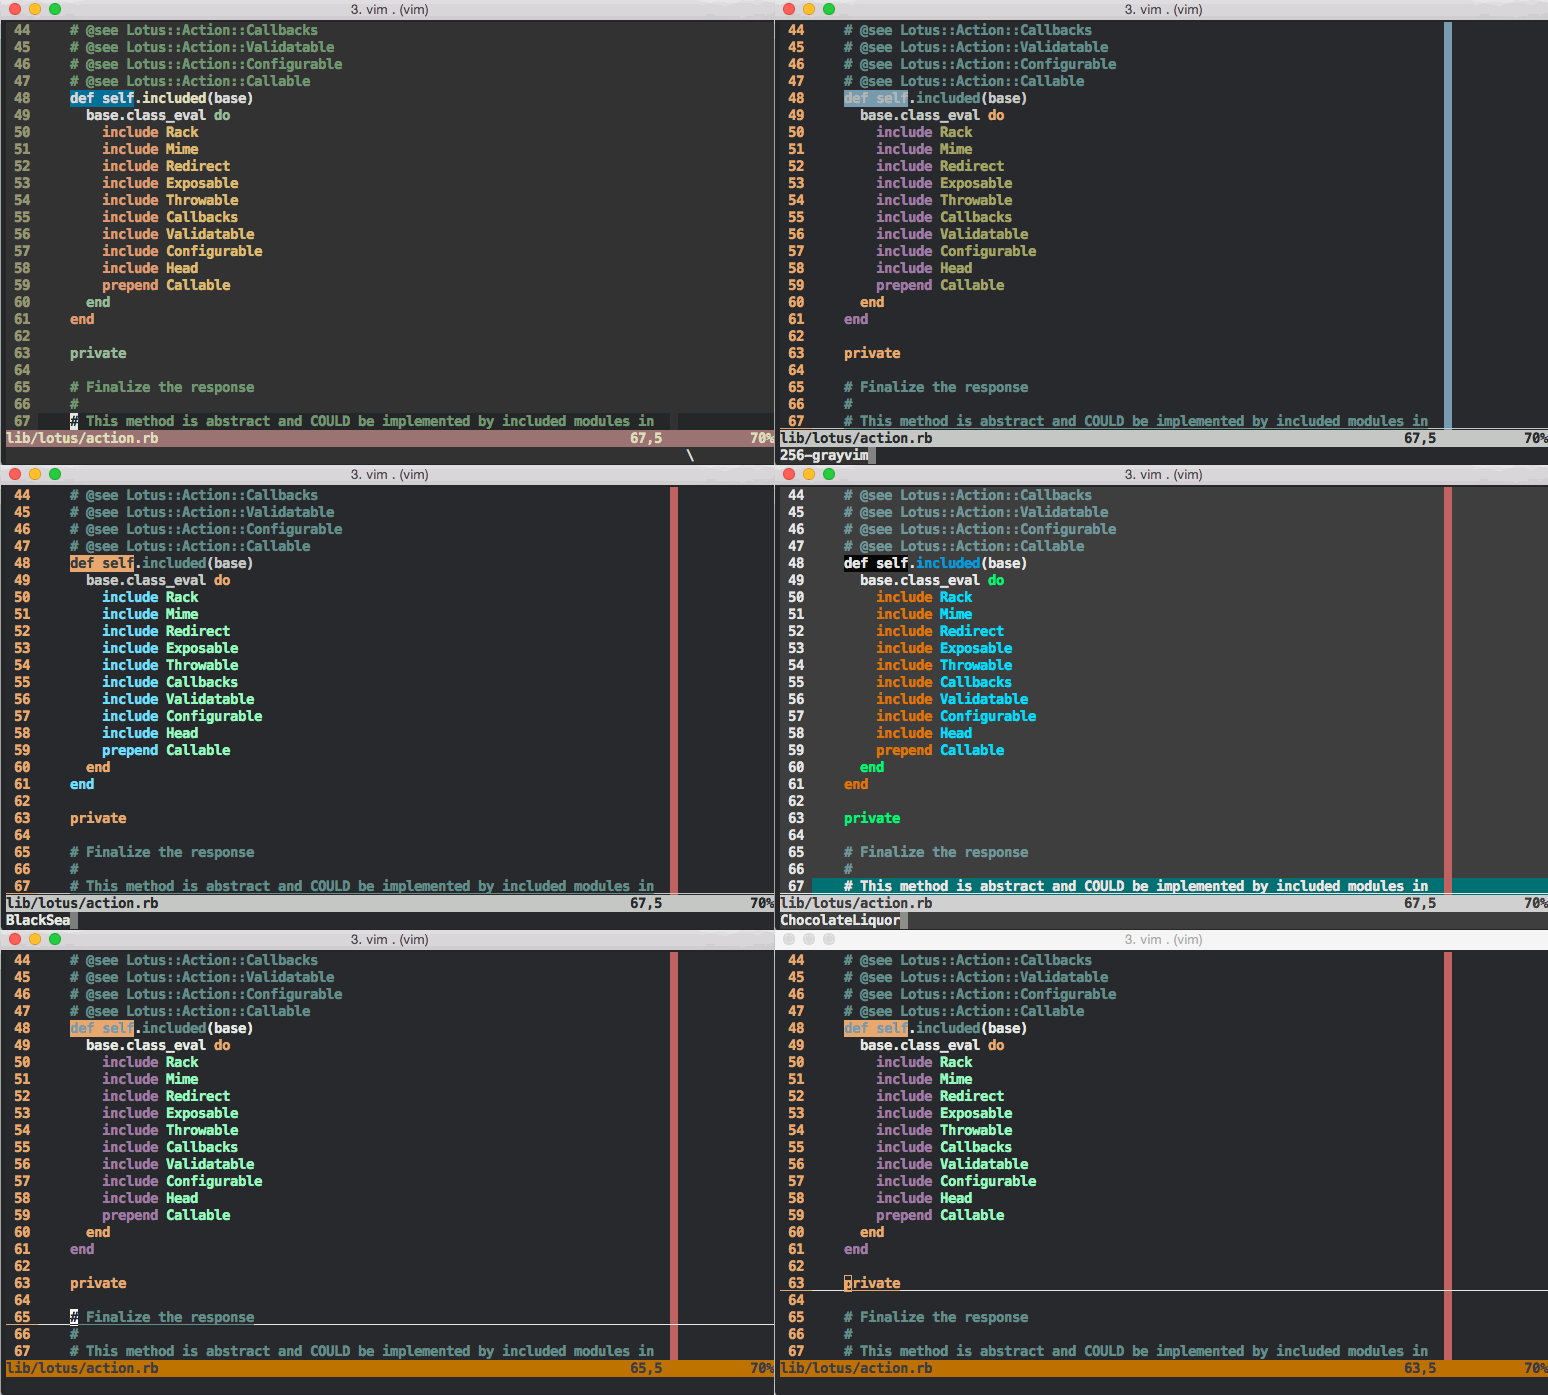
The visual aspect of our beloved editor is important to prevent eye strain. The rule is to set the background color to match the luminosity of the room. In general, a dark theme makes screen easier to look at for long period of times. Consider big and bold fonts, high contrast. If your eyes are irritated, don’t hesitate to see your doctor.
There are several themes for Vim. If you don’t know which one to choose, here’s what to do:
- Install vim-colorschemes.
- Borrow this function from my
.vimrc - Type
<leader>tcand watch your Vim to change theme each four seconds. Once you’ll see the one that you like, typeCtrl+c.

Vim-Ruby
This plugin offers everything you are looking for Ruby dev with Vim. It supports syntax highlighting, syntax errors, unused variables, auto-closing do/end, code auto-indentation, auto-complete facilities, etc…
Find In Project
One can easily get lost with large codebases. A fast and reliable search tool is crucial to stay focused. I use The Silver Searcher as Vim backend.
I mapped <leader>, to search in project or shift+k to find the word under the cursor. Both open a “Quickfix List” pane with a set of results, each of them can take you to the correspoding file, by hitting enter on the line. Here’s the relevant .vimrc configuration.
Quick File Open
The Silver Searcher can be used as a backend for ctrlp, a plugin that let’s you to quickly open a file by name. For instance Ctrl+p and start to type. It filters instantly the results. Use arrows to navigate results and enter to open the file or Ctrl+v for a vertical split pane.
Code Navigation
Unfortunately these two techniques return results only from your application codebase. Sometimes it’s useful to have a quick look at the source code of a dependency.
For instance, your cursor is on Foo constant and you want open the corresponding gem to place a debugger.
For this purpose install Exuberant Ctags and run this script. The output is a file named tags which contains the class/module/methods references for Ruby core, standard library, your application and for all the gems that you use. Don’t forget to add it to .gitignore. I mapped it to <leader>rt.
Once done, when the cursor is on Foo, just use Ctrl+] and Vim will open the file where Foo is defined. Then use Ctrl+[ to get back.
If Foo isn’t under your cursor, use :tag Foo. If the result isn’t what you expected (try with String;), use :ts Foo for a list of all the matches.
Autocomplete
There are a couple of options for code autocomplete. The first is “Any word completion”. It suggests all the words found in the project. It’s activated via Ctrl+n and it’s useful for recurring tokens.
If you want to leverage the tags that we’ve just created, install Supertab. When in insert mode, you can type Str and hit tab, and a list with all the possible tokens will appear in the contextual window.
auto_mkdir
Let’s say you’re writing a test for a non-existing class: test/foo/bar/baz_test.rb. The test is ”red” and you want to define that class. Instead of return to the shell (Ctrl+z), create the directories (mkdir -p lib/foo/bar), then get back to Vim (fg) and create the file (:e lib/foo/bar/baz.rb). This is just annoying.
If you use auto_mkdir and just edit the file (:e lib/foo/bar/baz.rb), it will auto-create all the intermediate missing directory. This is a huge time saving.